Have you ever wanted to give a photo a whole new style, perhaps as a drawing or cartoon, but didn’t know how to do it? Artificial intelligence can help! By using a technique called style transfer, you can use AI to change the style of an image to give it a new and unique look.
What is Style Transfer?
Style transfer is a process that uses machine learning algorithms to apply the style of one image to another image, while preserving the content of the original image. This can be a fun and creative way to alter your photos and create some exciting new styles such as cartoon, painting, or sketched.
In this guide, we will walk you through the steps of using AI to change the style of an image. We’ll cover which tools you can use to do this, how to prepare your images, how to apply the style transfer, and how to adjust the parameters to get the look you want!
Changing the Style of Your Image
- Find a AI image tool which has style transfer: There are many tools which do this, and most of them can be used on their website without downloading software. Some popular ones include DeepArtEffects, Lensa, and Fotor.
- Prepare your image: Before you can apply the style transfer, you’ll need to have an image, if you’re going for a portrait make sure it clearly shows your face. Make sure the image is in a digital format (such as a JPG or PNG file) and that it is saved on your computer.
- Choose the style: Depending on the tool you use, you might be able to simply select a style (for example, Fotor’s Photo to Cartoon tool). Otherwise you might need to provide a second image with the style you want to transfer. Style transfer models work by taking the style of one image and applying it to another.
- Run the style transfer: Most of the tools will allow you to run the style transfer straight from their website interface, or you might need to download their photo editing software to do it.
- Adjust the parameters: Some of these tools allow you to adjust certain settings to fine-tune the final result. For example, you may be able to adjust the intensity of the style or the overall color balance of the image. Play around with these parameters to get the look you want!
- Save the final result: Once you are happy with the style-transferred image, make sure you save it to your computer so you don’t lose it. You can often do this by selecting “save” or “export” from the menu in the software you are using. If the image is on your browser you can also just right-click and “save image”.
You should now have a wonderful stylized version of your original image or photo! Some of the style transfer tools may let you upscale the image, but if they don’t, you can always check out our AI Image Upscalers page to find the best free upscaling tools! This will let you get a super crisp and high resolution copy of your new image.
Best AI Tools for Image Style Transfer
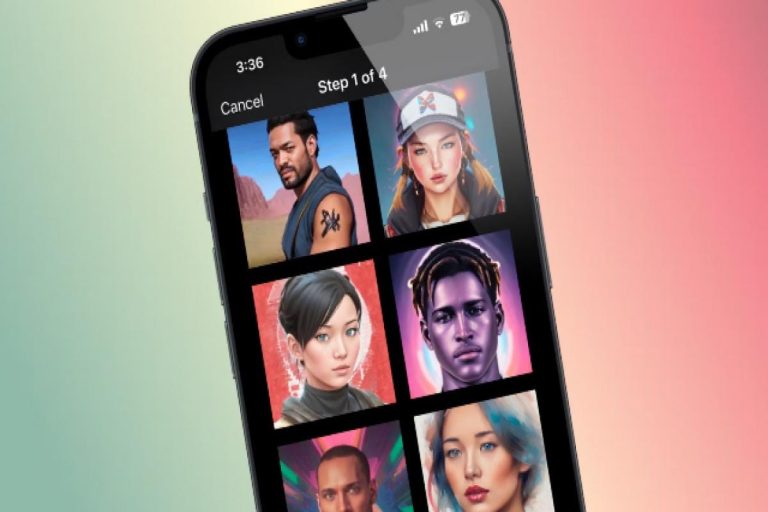
Lensa
Lensa is one of the most popular AI tools for creating your own digital portrait pictures. Lensa allows you to perform facial retouching with the
Fotor
Fotor’s AI image generator allows you to create images from text descriptions in a different styles. Simply describe what you want and the AI text
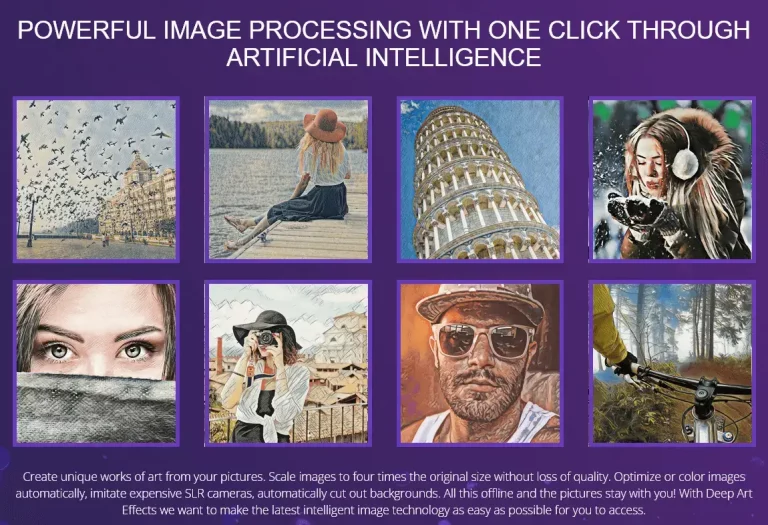
Deep Art Effects
Deep Art Effects is a tool that uses deep learning technology to apply artistic styles to images. It you to transform your photos into works
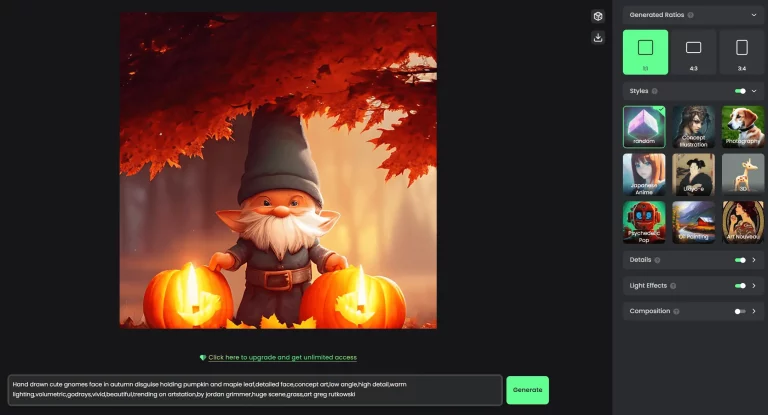
The Img2Img Technique
The method listed above is probably one of the easiest ways to change your image style using AI. There are, however, some other ways which we felt were worth including. Some AI image generators, notably Stable Diffusion and Midjourney, give you access to a tool called img2img. This lets you feed the AI a specific image and re-create it with your text prompts, but still using the original image as the main canvas. The following guide will explain how you can also use this setting for image style transfer.
How to Use Img2Img in Stable Diffusion

Upload your image or photo to the img2img tab, or if you’re using a Stable Diffusion website service look for the image to image function.
- In the text prompt, briefly describe your original photo. For example: “a portrait of a man wearing sunglasses“.
- Next, you want to add words to add style to your image. For example: “a oil painting of a man wearing sunglasses”, “a pencil sketch of a man wearing sunglasses”. You can mix it and even combine styles, but sticking to one usually gives a better result.
- Make sure the CFG scale is above 7, we recommend setting it to 10-15 and testing which works best with your image.
- For denoising scale, this will vary from photo to photo, but a good place to start is 0.3. If you notice the new style if not very noticeable, you can try increasing the denoising scale. If you go too high the image will end up looking different to the original, you’ll need to try and find the sweet spot for your image.
- Click on generate. If you’re not happy with the style transfer result you can play around with the above settings a bit.
- Tip: If your Stable Diffusion interface lets you use custom models, be sure to use one that matches the style you’re going for!
How to Use Img2Img in Midjourney
- Drag and drop your image onto the Midjourney Discord server. If you’re on the free trial, you’ll have to drop it into one of the “Newbies” servers (caution: this will make your photo public for others to see!). You can avoid this if you’re on a Midjourney subscription by adding the bot to your own server or privately messaging it.
- Once your image is uploaded, click on it to open the full-size version, then right click on it and copy the image URL.
- At the beginning of your prompt, after typing /imagine you want to add the URL of your image. For example: “/imagine *image URL here* picture of a man wearing sunglasses –v 4 –ar 2:3″
- Add the style keywords to your prompt, for example: cartoon, painted, 3D rendered, futuristic, retro, etc.
- Midjourney should generate your original image using the style prompts you gave it. Don’t forget you can also use the variation buttons to change up your image even more!
Congratulations on making it this far! You should now know how to use AI to change the style of your images in a few different ways. Style transfer is super fun and can be a awesome way to make your old images fresh and exciting again. It’s also pretty handy for profile pictures! Although if you’re looking for your own portraits and profile pictures there are specific tools just for that, feel free to check those out at our AI Portrait Generators section.
We hope you had fun following along with this guide and that you feel inspired to try style transfer on your own images! Remember to experiment with different style keywords and settings to see what works best with your images.

