ComfyUI is a powerful and modular GUI for Stable Diffusion that lets you create advanced workflows using a node/graph interface. It fully supports the latest Stable Diffusion models including SDXL 1.0 through an intuitive visual workflow builder.
With ComfyUI, you can chain together different operations like upscaling, inpainting, and model mixing all within a single UI. The node-based workflow builder makes it easy to experiment with different generative pipelines for state-of-the-art results. Compared to other Stable Diffusion interfaces, it can be a tad confusing to set up and get used to; that’s why we’ve created this short guide for how to install and get started with ComfyUI!
Table of Contents
Installing with the Standalone Installer (Windows)
The easiest way to install ComfyUI on Windows is to use the standalone installer available on the releases page:
https://github.com/comfyanonymous/ComfyUI/releases
Download the latest comfyui-windows.zip file and extract it with a tool like 7-Zip or WinRAR.
This will give you a portable ComfyUI folder with everything set up. Simply put your Stable Diffusion models in models/checkpoints and run comfyui.exe to launch.
The standalone installer comes bundled with common dependencies like PyTorch and Hugging Face Transformers so you don’t have to install them separately.
It’s an all-in-one package that lets you get up and running with ComfyUI quickly on Windows without any complex setup. Just download, extract, add models and run!
Node Setup
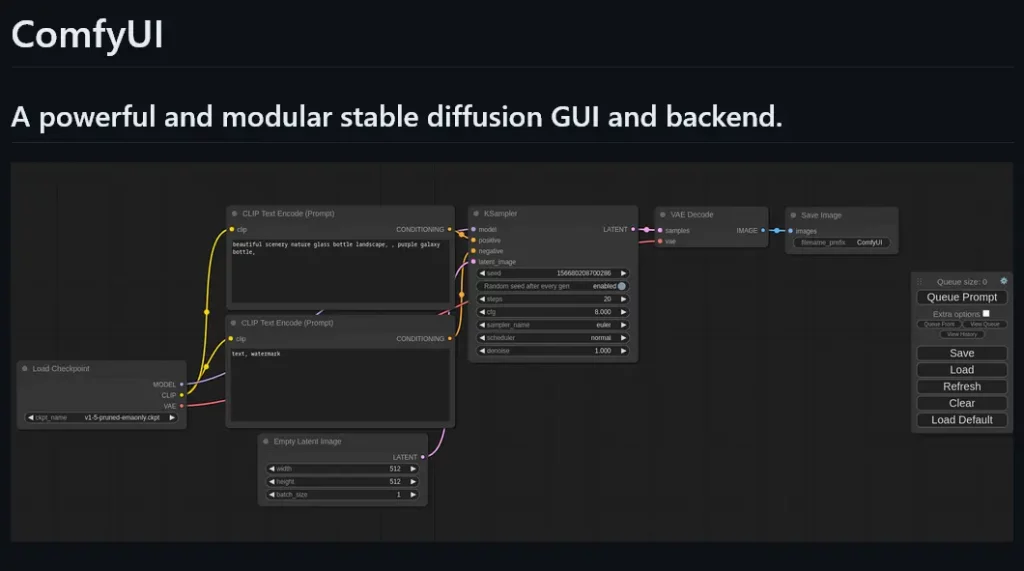
While the whole nodes interface may seem confusing at first, it actually gives you a lot more control than most other UIs. When you’re just starting out, rather than creating your own node setup, we recommend trying out a template that has all the nodes already set up for you.
To load a template, simply click on the “Load” button and select a .json template.
The YouTuber Monzon Media offers a great template on his ComfyUI video, you can find the video here: (https://www.youtube.com/watch?v=gguLtMM4g_Q). Check out the description for a link to download the Basic SDXL workflow + Upscale templates. Once you have the .json file, simply load it into ComfyUI!
Using this template, your images will be processed at the SDXL recommended 1024×1024 resolution. To change the resolution, you’d need to change the values of the “width” and “height” parameters (there will be more than one node with these values).
Here’s a list of all the resolutions SDXL currently supports:
640 x 1536
768 x 1344
832 x 1216
896 x 1152
1024 x 1024
1152 x 896
1216 x 832
1344 x 768
1536 x 640
Manal Installation
If you wish to manually install ComfyUI, follow these installation instructions:
Prerequisites:
- A PC with an NVIDIA GPU (RTX 2000 series or newer recommended). AMD GPUs are supported but less tested.
- Python 3.7 or higher
- Pip package manager
Installation Steps:
- Clone the ComfyUI repository:
git clone https://github.com/comfyanonymous/ComfyUI.git - Install dependencies:
pip install -r requirements.txt - Download Stable Diffusion models: Download the latest Stable Diffusion model checkpoints (ckpt files) and place them in the “models/checkpoints” folder.
- Download a VAE: Download a Variational Autoencoder like Latent Diffusion’s v-1-4 VAE and place it in the “models/vae” folder.
- Launch ComfyUI:
python main.py
That’s it! ComfyUI should now launch and you can start creating workflows.
Some tips:
- Use the config file to set custom model paths if needed.
- Join the Matrix chat for support and updates.
- See the ComfyUI readme for more details and troubleshooting.
Installing ComfyUI on Linux
ComfyUI can be installed on Linux distributions like Ubuntu, Debian, Arch, etc.
Requirements
- NVIDIA GPU with CUDA support
- Python 3.7 or higher
- pip package manager
Installation Steps
- Clone the ComfyUI repository:
git clone https://github.com/comfyanonymous/ComfyUI.git
- Install PyTorch with CUDA support:
pip install torch torchvision torchaudio --extra-index-url https://download.pytorch.org/whl/cu118
- Install dependencies:
pip install -r requirements.txt
Download Stable Diffusion models and place them in
models/checkpoints.Download a VAE like Latent Diffusion and place it in
models/vae.Launch ComfyUI:
python main.py
That’s it! ComfyUI should now be installed and ready to run on Linux.
Some tips:
- Use the config file to set custom model paths if needed.
- For AMD GPUs, install PyTorch with ROCm support using:
pip install torch torchvision torchaudio --extra-index-url https://download.pytorch.org/whl/rocm5.4.2 - Join the Matrix chat for Linux-specific help.
You should now have ComfyUI installed and running on your system! We hope this guide has been helpful, if you have any questions or need any support with ComfyUI, you can check out their Matrix space. ComfyUI is definitely one of the best interfaces for Stable Diffusion XL currently, and is much faster at image generation than AUTOMATIC1111. While it may be a bit more hands-on, it offers much more flexibility and the ability to save and load templates is very useful to have.

