Are you tired of receiving outdated information from ChatGPT? As you may already know, ChatGPT’s knowledge is limited to its database, which was last updated in 2021. Fortunately, there is a solution to this problem! By adding the WebChatGPT Chrome extension to your browser, we can give ChatGPT internet access for more accurate and up-to-date answers. In this blog post, we will guide you on how to use this ChatGPT extension step-by-step.
Update: OpenAI recently announced the reintroduction of web browsing capabilities to ChatGPT, enabled through integration with Microsoft’s Bing search engine. After disabling the feature months ago due to issues with bypassing paywalls, ChatGPT Plus and Enterprise users can now opt-in to real-time internet access. This significantly expands the chatbot’s knowledge beyond its previous constraints of training data ending in 2021. The web browsing feature is expected roll out to free users soon.
Step 1: Add the WebChatGPT Chrome Extension.
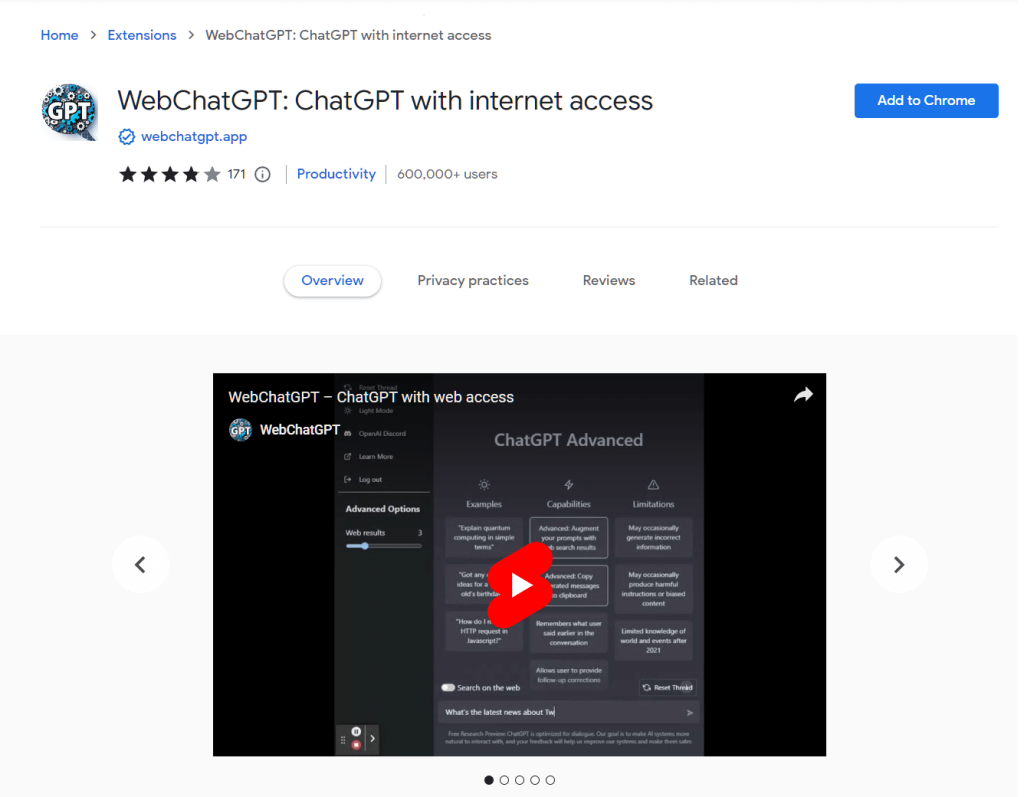
The first step to giving ChatGPT internet access is to add the WebChatGPT Chrome extension to your browser.
- Open your Google Chrome browser.
- Go to the Chrome Web Store.
- Search for “WebChatGPT” in the search bar. If you don’t feel like searching, here is the link: https://chrome.google.com/webstore/detail/webchatgpt-chatgpt-with-i/lpfemeioodjbpieminkklglpmhlngfcn/related
- Click on the “Add to Chrome” button next to the WebChatGPT extension.
- Click “Add Extension” in the confirmation dialog.
Note: This extension is now available on Firefox too, you can find it here: https://addons.mozilla.org/en-US/firefox/addon/web-chatgpt/
Step 2: Log in to ChatGPT

After adding the WebChatGPT extension to your browser, the next step is to go to the ChatGPT login page.
- Open a new tab in your Google Chrome browser.
- Go to chat.openai.com/chat.
- Log in to your OpenAI account.
- Make sure that the “Web Access” toggle is enabled at the bottom.
Step 3: Set Up Your Preferences

Now that you’ve logged in to ChatGPT, you can set up your preferences for the WebChatGPT extension. In the example above, we’re fetching 5 results which were published in the last week from a US source.
- Below the ChatGPT text box and next to the web access toggle, you should be able to see 4 settings.
- Select how many results to fetch, 3-5 is a good starting point.
- Set up the time and region in which to fetch results from.
- Optional: Click on “Default prompt” and then “+New prompt” to create your own template for prompts when using the WebChatGPT extension.
Step 4: ChatGPT Live Web Search
Once you’ve set up your preferences, you can now try out some of your favorite prompts and see how much more accurate they are! The ability to fetch live information from the web allows ChatGPT to understand topics and queries much easier.
- Type in your query in the ChatGPT chatbox, ensuring the web access toggle is turned on.
- The extension will provide you with the latest up-to-date information related to your query, along with citations where applicable.
- You can reference up to 10 results to get the most accurate information, however fetching too many may give worse results.
Step 5: How to Disable Web Access
If you want to revert ChatGPT to its default state you can disable web access easily with the toggle. Alternatively, you can remove the extension from your browser.
WebChatGPT Chrome extension is a useful tool that can give ChatGPT internet access for more accurate and up-to-date answers. By following the above steps, you can easily set up the extension and start searching for more recent information with ChatGPT. Remember to reference at least 3 results to get the most accurate information. We hope this short guide has been helpful to you!

