OpenAI has introduced an exciting new feature called GPTs that allows anyone to build a tailored version of ChatGPT for their own needs. With GPTs, you can create a chatbot to help with specific tasks, business automation, or just to have fun!
Please note that since OpenAI’s GPTs is still in early development, the method of access and building may change over time. We’ll do our best to keep this guide up-to-date! Follow these steps to make your own custom ChatGPT:
1. Access the GPT Creation Tool
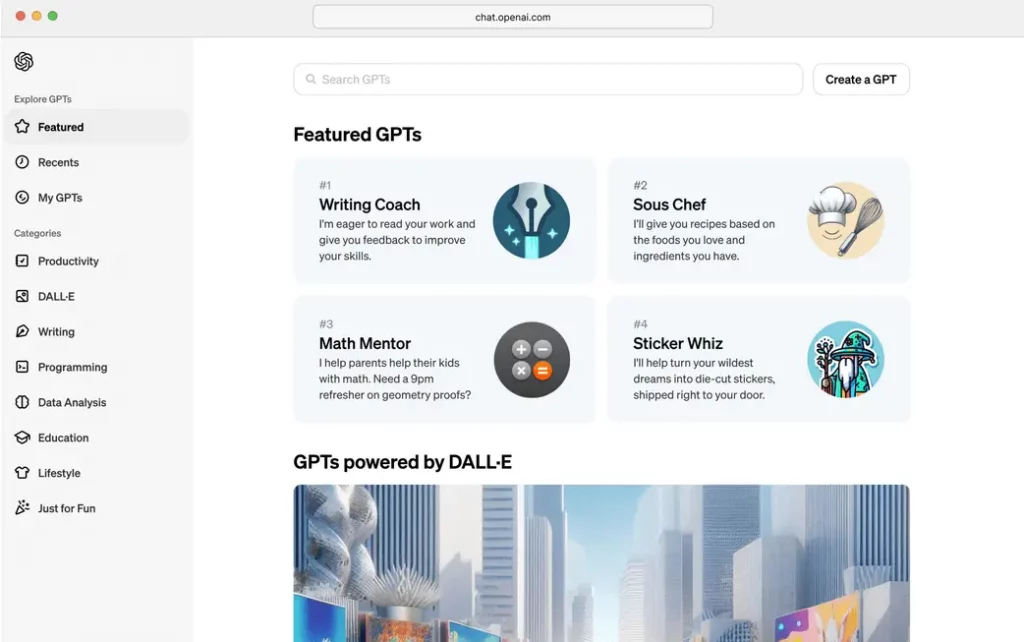
- Go to chat.openai.com/create to access the GPT editor.
- You’ll need a ChatGPT Plus or Enterprise account to use it. Free users can view example GPTs (like Canva and Zapier AI Actions).
2. Give Your GPT a Name and Description
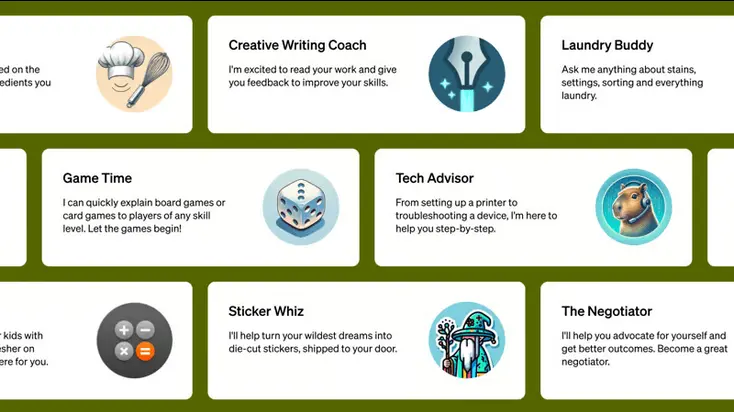
- Give your bot a name and short description of what it’s for. This helps other users browsing the GPT Store to understand your GPT’s purpose.
- Add an image or avatar if desired. This further personalizes your creation.
3. Provide Instructions and Knowledge
- Have a back and forth conversation with the GPT Builder. Explain exactly how you want your GPT to behave.
- Specify the language, tone, knowledge sources, limitations, use cases etc. The more detailed your instructions, the better the results.
- You can provide documents, data, or websites for it to read and ingest.
4. Configure Capabilities
- Enable skills like web browsing, image generation and data analysis based on your needs.
- Connect external APIs to integrate real-world data and workflows. This is usually more for Enterprise users.
- Select options like letting your GPT learn from user conversations. Your users can still choose to opt-out of having their chats used for model training purposes.
5. Set Welcome Message
- Craft a welcome message that introduces your GPT and sets the context for users.
- It’s a good idea to provide some prompt examples to help users get started.
6. Test and Refine
- Try out your custom GPT to see how well it handles tasks and instructions.
- It often takes multiple iterations to get it working right. Try to test as many scenarios as you can think of!
- Make sure to identify any potential errors or ‘hallucinations’ that the chatbot might give in its responses.
7. Publish and Share
- You can publish your GPT to the public GPT Store or keep it private.
- Share via link or embed it on websites. Decide whether to keep your GPT public or private.
- Monitor usage if published publicly. Further tweak your GPT based on broader user feedback.
By following these steps, you should now have your custom ChatGPT model built and ready to be deployed. If your GPT is designed for your business or website, here is where you will likely want to embed the chatbot onto your website. This can be done easily by pasting the embed code onto your site. For now, custom GPT creation is limited to ChatGPT Plus users, and sadly it’s unlikely that we’ll see this option available for free users anytime soon.
OpenAI designed GPTs to involve more people in steering AI development. By expanding who decides “what to build”, GPTs will likely result in safer and better aligned AI. OpenAI also plans to share more about incorporating democratic input into AI behavior soon.
The upcoming GPT store will feature verified creations that become searchable and can climb leaderboards. In the future, builders will also be able to earn money based on their GPTs usage. We’ve not got information on expected earnings yet, but it will be exciting to see how much developers can earn from sharing their custom GPTs!

